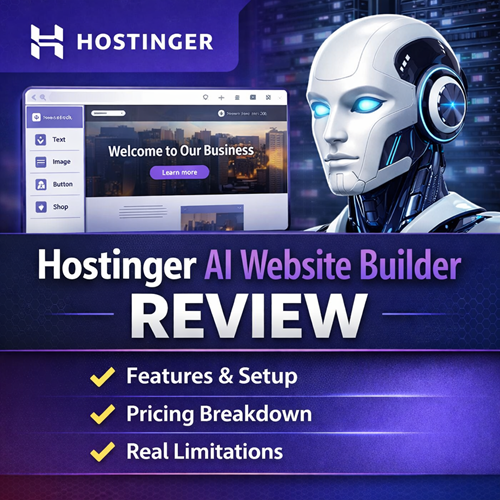
Hostinger AI Website Builder Tutorial 2026 – Step by Step
Hostinger AI Website Builder Tutorial 2026 – Step by Step
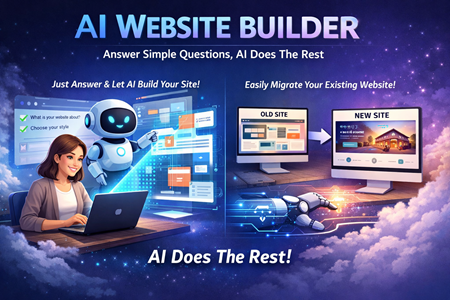
If you want a website that looks professional without getting dragged into design tools, plugins, and “why is this button doing that?” moments, Hostinger’s AI Website Builder is built for you. I’ve gone through the exact flow you’ll follow: pick a plan, generate a first draft with AI, customize it in the editor, check mobile, set up pages, handle SEO basics, connect a domain, and publish.
This walkthrough sticks to the practical steps so you can build a real site (not just a demo page) and get it live.
Step 1: Sign up and pick the right plan
When you land on the pricing page, you’ll usually see Premium and Business as the main choices.
Premium is fine for a simple site. But if you want the deeper AI tools (the ones that actually save time), Business is where they show up, including:
- AI Writer and AI Blog Generator for page copy and posts
- AI Image Generator for quick visuals
- AI SEO tools for metadata and page checks
You’ll also notice the billing term options. A longer term tends to price lower per month, but choose a term you’re comfortable with. After you create your account and enter billing/payment details, you’ll land in the dashboard ready to build.
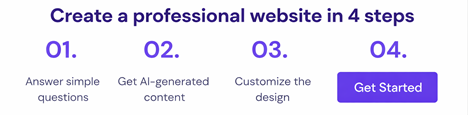
Step 2: Generate your first website with the AI Builder
Inside setup, choose that you’re creating a website with Hostinger’s website builder, then start with a temporary domain. The AI build starts with two inputs:
- Brand name
- Site description
Your description matters more than people think. If you want better first drafts, include:
- what the business does
- who it’s for
- the vibe (clean, modern, minimal, bold, etc.)
- the pages you want (Home, About, Services, Contact, Gallery, etc.)
- any preferences like fonts or colors
After you click create, you’ll get a full first version. Don’t treat it like the final site. Treat it like a good starting layout.
If you don’t like what it generated, you can re-run it with a slightly better description. You can also use version history to jump back to earlier drafts.
Step 3: Learn the editor quickly (sections and elements)
The editor is organized in a way that makes changes predictable:
- Pages are built from sections
- Sections contain elements (text, buttons, images, forms)
To edit text, click it and choose edit text. You can adjust font, size, color, and formatting from the floating toolbar. Buttons work the same way: edit the label, then set what it links to (page, section, URL).
For layout changes, you can drag elements around and use alignment guides so things don’t drift off-center. To resize a section, grab the bottom edge and adjust height.
Step 4: Replace images and use the built-in AI tools
Swapping images is straightforward: click an image, replace it, and choose from uploads or free assets. You can also tweak image styling (corner radius, overlays, shapes, and animations).
Where the AI tools come in handy is speed:
- Use the AI Writer to shorten, expand, or shift tone when your text is “close but not quite”
- Use the image generator when you need a background visual that matches your brand style
- Use AI-generated content as a draft, then edit it so it sounds like you
I treat the AI as a rough draft engine, not a final copywriter.
Step 5: Check mobile layout before you publish
Switch to mobile view and scan every page. Fix spacing, alignment, and anything that looks cramped. The nice part: mobile edits won’t mess up your desktop design, so you can make changes safely.
Step 6: Customize header, footer, and navigation
Header and footer show on every page, so set these up early:
- logo (image or text)
- navigation links
- optional button or social icons
- sticky header on/off
For pages, you can rename, reorder, hide pages from navigation, and set any page as the homepage. You can also generate new pages with AI prompts, which is often faster than building from scratch.
Step 7: Basic SEO setup inside the builder
The SEO section flags missing titles, descriptions, and keywords. I’d handle this page-by-page:
- add a clear page title
- write a short meta description that matches the page topic
- add a few sensible keywords (not a giant list)
This won’t replace a full SEO strategy, but it’s enough to avoid launching with blank metadata.
Step 8: Connect your domain and publish
Once you connect your custom domain, you can publish from the top right. Domain connection timing can vary, so don’t panic if it’s not instant. After publishing, open the live site and do a final check: menus, buttons, forms, and mobile.
Step 9: Optional but useful: set up a domain email
If you want a more professional look, set up email on your domain (like info@yourdomain.com). Hostinger’s dashboard walks you through creating the address and logging into webmail.
Who This Tool Is Best For
- Beginners who want a clean site fast without learning design tools
- Small businesses, creators, and service providers who need pages, a blog, and basic SEO setup
- People who want an all-in-one workflow: build, edit, connect domain, publish, and manage from one dashboard
Who This Tool Is Not Ideal For
- Developers who want deep customization, custom databases, or complex app-like sites
- Large stores that need advanced inventory systems or heavy integrations
- People who want a free plan to experiment long-term before paying