How to Build a Website with Hostinger’s AI Website Builder (Plans, Domain, SEO)
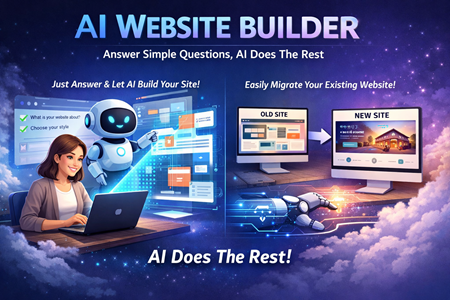
If you’ve built websites before, Hostinger’s website builder will feel familiar: you pick a plan, claim a domain, choose a starting design, then edit everything with drag-and-drop tools. The “AI” part mostly helps you generate an initial layout so you’re not starting from a blank page. The video is a full walkthrough of the workflow in 2026, including basic SEO checks and a simple store setup.
This article breaks down what’s actually shown in the tutorial, what’s opinion, and what you can realistically expect if you follow the same steps.
What This Tool Does
Hostinger’s AI Website Builder is designed to help you create a website without installing WordPress or managing plugins. In the video, the builder is used to:
- Generate a starter website framework from a short business description
- Edit sections (text, images/video backgrounds, buttons) using a visual editor
- Add and rearrange pages via a “Pages” panel
- Adjust global styling (colors, fonts, button styles) from a “Styles” area
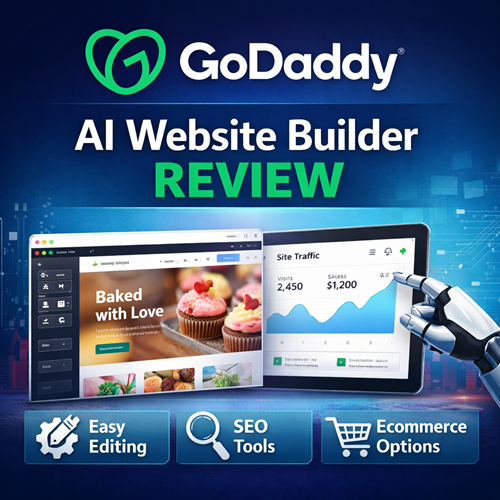
- Walk through basic on-page SEO checks using a built-in SEO panel
- Optionally enable an online store and connect payment methods
- Publish the website and connect a domain (with a temporary domain while DNS finishes)
It’s positioned as an all-in-one workflow: hosting + builder + domain + publishing in one place.
How It Works
The tutorial follows a predictable sequence. If you replicate it, you’ll do the same five things in order.
Choose a plan based on what the site needs
Two builder plans are discussed: a “premium” option and a “business” option. The practical difference, according to the video, is that the business plan is the safer pick if you plan to sell products or take payments, while premium is fine for a blog or informational site.
One detail that matters: the video warns that shorter billing periods may not include the free domain offer. The presenter specifically discourages a one-month plan because you lose the free domain benefit (as described in the video).
Pick a domain (and keep it simple)
The domain advice is basic but useful:
- .com is treated as the most trusted option
- Keep it short and easy to remember
- If .com isn’t available, other extensions can work (he uses .io in the example)
This isn’t a hard rule, but it’s a decent heuristic if you’re building something meant for consumers.
Generate the first draft with the AI builder
The AI builder step is simple: you enter a brand name and a description of what the site is for. The video suggests writing more than one sentence — ideally a paragraph — so the generator has enough context.
Then Hostinger creates a draft site. If you hate the whole thing, you can hit “create again” and regenerate. If it’s mostly fine, you keep it and edit the parts you don’t like.
Edit the site with drag-and-drop tools
Most of the tutorial is editing:
- Replace a background video/image in a section
- Adjust overlay/opacity so text is readable
- Edit text by double-clicking (like a document editor)
- Edit buttons (label, style, color)
- Add new sections (including store sections)
- Delete or hide sections (including device-specific visibility)
A key point: the tutorial repeatedly toggles between desktop and mobile preview. That’s not a “nice to have.” It’s a practical step because layouts can break or feel cramped on mobile even when desktop looks good.
Set up a logo and navigation
The tutorial shows a built-in logo builder. The presenter’s take is basically: it’s not amazing, but it’s free and usable for a quick start.
Navigation editing is done through the “Pages” panel:
- Reorder pages
- Add new pages (like Contact or Services)
- Rename store navigation labels (like changing “product list” to “shop”)
Key Points from the Video
- The full build is framed as doable in ~30 minutes if you follow along.
- Plan choice matters more if you’re selling products (business plan is recommended in that case).
- Billing term affects value; the video pushes longer terms as the better deal and ties that to the free domain benefit.
- The AI builder is mainly an accelerator for first draft structure, not a magic “done” button.
- Editing is section-based: swap media, tweak text, adjust buttons, add sections, hide sections on mobile.
- The SEO panel gives page-by-page guidance (title length, meta description, focus keyword reminders) as shown in the walkthrough.
- Store setup includes adding products and connecting payment methods like Stripe/PayPal (specific processors are mentioned in the video).
- Publishing includes a “Go live” flow and a temporary domain while domain registration/DNS propagates (the video mentions up to ~24 hours).
Who This Tool Is Best For
- People who want a site online quickly and don’t want WordPress maintenance
- Beginners who want a guided UI for pages, styles, and publishing
- Small businesses building a basic brochure site (services, contact, about)
- Creators launching a simple store without committing to a separate e-commerce platform
- Anyone who prefers an all-in-one workflow (hosting + builder + domain)
If you’re trying to remove setup friction, this workflow is pretty straightforward.
Who This Tool Is Not Ideal For
- Anyone who wants full control over code and a custom development workflow
- Sites that depend on advanced integrations, custom databases, or complex membership logic
- People who plan to publish content constantly and want a robust CMS workflow
- Teams that need deep e-commerce features out of the gate (advanced inventory, apps, complex checkout customization)
It can still work for some of these, but the tutorial is clearly aimed at “get it live fast,” not “build a custom platform.”